| FLOATER FRAMES: |
 |
| The floating effect is achieved with three styles of floater frames: Stair step, L-shaped, and Tapered frames. There is a space between the edge of the floater frame and the edge of your canvas, that gives it the "floating" effect. The frame is attached to the back of your canvas so no nails or screws will be visible and you do not need glass or a backing to hold it in place. These frames are perfect for various depths of canvases so you do not need to worry about finding the right one for yours!
|
Stair Step |
Tapered |
L Shape |
 This type of floater frame has a small "step" inside that provides a uniform amount of space between your canvas and the edge of the frame. No guess work is needed for these frames, just simply mount your canvas inside and you are finished!
Gap is fixed. |
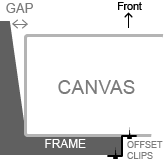 This type of frame tapers at the front to leave a uniform amount of space around your canvas. This frame is very minimalistic since you won't see a step between the frame and canvas. This type of frame tapers at the front to leave a uniform amount of space around your canvas. This frame is very minimalistic since you won't see a step between the frame and canvas. Gap is fixed. |

L Shape floater is the only style that gap can be customized. If you prefer your own gap amount please ask for it in the order note box. |
| HOW TO MOUNT YOUR CANVAS INTO A FLOATER FRAME |
 |
Putting your canvas into the floater frame is very simple. Your frame will already be assembled and it will come with all the hardware to put it together! You will need a hammer, screwdriver, drill and your canvas.
Materials
- Floater Frame
- Canvas (Print or Painting)
- Offset Clips and Screws
- Hanging Hardware Kit (wire, wire hoops, foam pads, wall hook)
- Hammer
- Drill
|
| |
1) Place Canvas Face Down |
2) Center Canvas Inside Frame |
3) Install Your Hanging Kit |
 Place your canvas face down onto a clean surface. Put the floater frame face down on top of your canvas. Place one offset clip at the top center and bottom center of your canvas and frame.
 |
 Screw in both offset clip into the canvas frame and turn the work around to check if it is still aligned center and re-position if it is not center. Once centered, screw in the rest of the clips.
 |
 Screw the wire hoop to either side of your canvas and twist the wire around the hoop. Place the foam pads on the bottom corners of your frame and your art is ready to hang!
 |
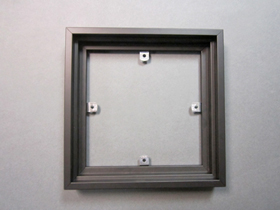 Faceview of a small canvas floater ready for artwork mounting. |
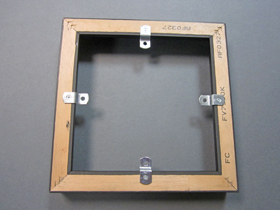 Back side of the same floater frame |
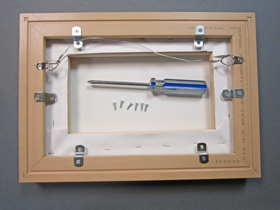 We will attach clips and provide wood screws, hanging wire, hangers and bumpers. You need a screwdriver to mount your canvas inside the floater frame.
|
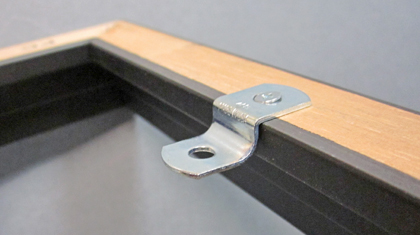 We will attach the right offset clip depth based on the moulding profile you order. |
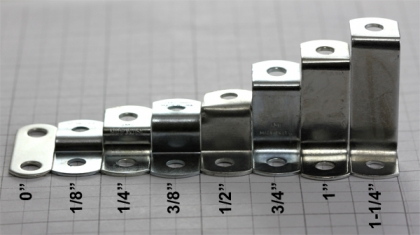 Different offset clips (Z brackets) we use for our canvas floater frames. If you need extra you can order online: click here |
| NEED HARDWARE? ORDER ONLINE! |
 |
|
© 2002-2026 - KeenART Media Ltd.
|
|
| |
| |

